
경고창 띄우기
1
2
3
4
5
6
7
8
9
10
<script>
    function hello() {
        alert('안녕')
    }
</script>

<body>
    <!-- oneclick : 버튼 클릭 시 hello() 함수 실행 -->
    <button onclick="hello()" type="button">hello</button>
</body>
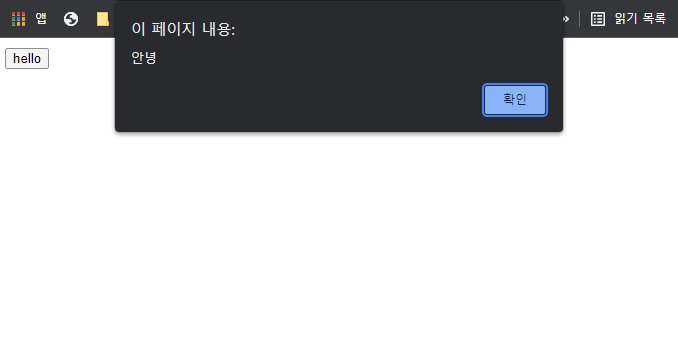
- 결과 :
![result]()
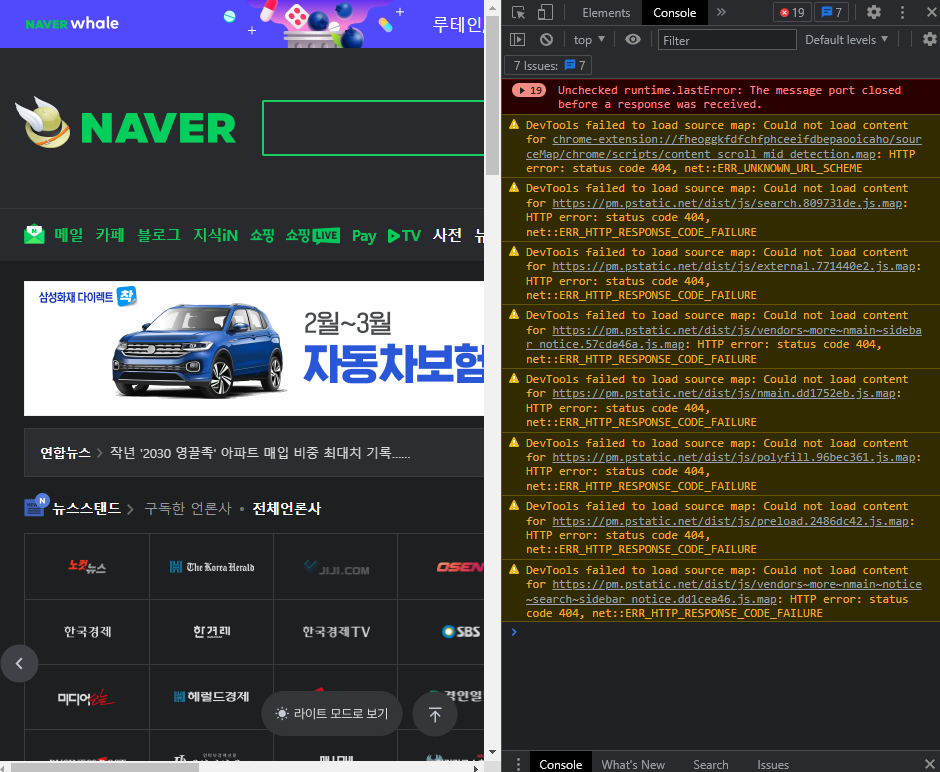
크롬 콘솔창 열기
- ctrl-shif-j
- 마우스 우클릭 >> 검사 >> Elements(요소) 옆 Console(콜솔) 클릭
![console]()
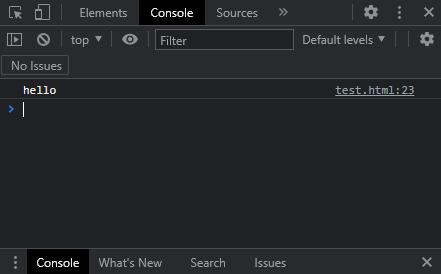
콘솔 출력
1
2
3
<script>
    console.log('hello')
</script>
- html script로 실행한 결과
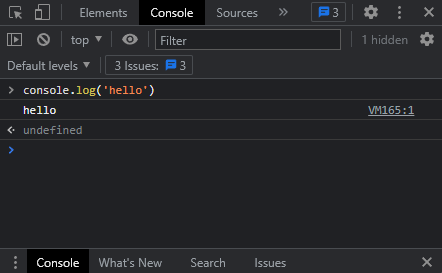
- 크롬 콘솔창에서 실행한 결과
(js) 요소의 id 사용
1
2
3
<script>
    document.getElementId("id_name")
</script>
- 예시) 요소의 id를 이용해 css 스타일 변경하기
1
2
3
4
5
6
7
  <script>
      var chage = document.getElementById("change")
      change.style.height = "800px" // div의 높이가 800px로 바뀜
  </script>
  <body>
      <div id="change" style="background: pink"> </div>
  </body>
(jQuery) input내용 조작 : $(‘선택자’).val()
- 선택한 요소의 값을 설정 또는 반환
1
2
3
4
5
6
7
8
9
10
11
12
13
14
15
16
17
18
<script>
    // input의 내용 콘솔에 출력
    function print() {
        let value = $('input').val()
        console.log(value)
    }

    // input의 내용 '바뀌어라!'로 변경
    function change() {
        $('input').val('바뀌어라!')
    }
</script>

<body>
    <input type="text">
    <button onclick="print()" type="button">input내용 출력</button>
    <button onclick="change()" type="button">input내용 변경</button>
</body>
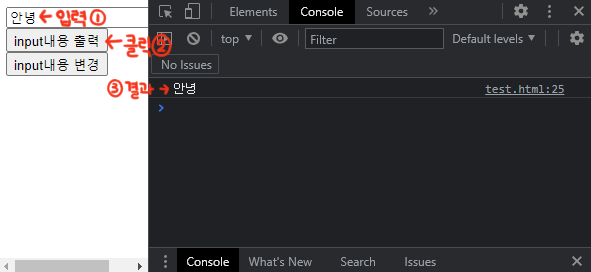
- input내용 출력 결과
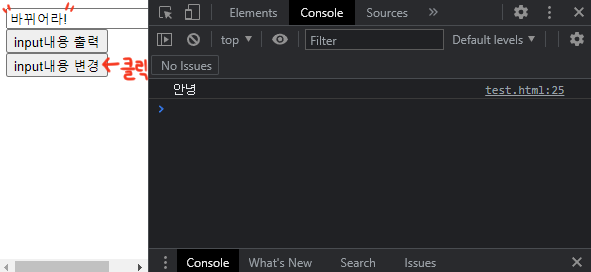
- input내용 변경 결과
(jQuery) 요소의 텍스트내용 조작 : $(‘선택자’).text()
- 선택 요소의 텍스트 설정 또는 반환
1
2
3
4
5
6
7
8
9
10
11
12
13
14
15
16
17
18
19
<script>
    // h3 내용 출력
    function h3() {
        let h3 = $('h3').text()
        alert(h3) // 경고창 띄우기
    }

    // h4 내용 변경
    function h4() {
        $('h4').text('h4 변경!')
    }
</script>

<body>
    <h3>h3 내용</h3>
    <h4>h4 내용</h4>
    <button onclick="h3()" type="button">h3텍스트출력</button>
    <button onclick="h4()" type="button">h4텍스트변경</button>
</body>
- 결과

(jQuery) 요소의 내부 조작 : $(‘선택자’).html()
- text() : 태그 내부의 문자열만 가져옴
html() : 선택자 내부의 태그 및 문자열 모두 가져옴
- ex)
1
2
3
4
5
6
7
8
9
10
11
12
13
14
15
16
17
  <script>
      function txt() {
          alert($(".dif").text())
      }
      function htm() {
          alert($('.dif').html())
      }
  </script>
  <body>
      <div class="dif">
          <h1>hello</h1>
          <p>bye</p>
      </div>

      <button onclick="txt()">text()</button>
      <button onclick="htm()">html()</button>
  </body>
- 결과
txt() 버튼 클릭 시
hello
byehtml() 버튼 클릭 시
<h1>hello</h1>
<p>bye</p>
- html()로 내부 조작하기
1
2
3
4
5
6
7
8
9
10
<script>
    var operation = 'hola'
    $(".dif").html('<h1>'+ operation + '</h1>')
</script>
<body>
    <div class="dif">
        <h1>hello</h1>
        <p>bye</p>
    </div>
</body>
- 실행 결과 : hola
- .dif 내부의 내용이 <h1>operation</h1>로 바뀜
+ ‘<h1>’+ operation + ‘</h1>’ = `<h1>${operation}</h1>`
속성 조작
element.attr(‘attribute’, ‘value’) : 속성 추가
1
2
3
4
5
6
<script>
    $('h1').attr('title', 'add_title')
</script>
<body>
    <h1>hello</h1>
</body>
- 결과(콘솔 확인): <h1 title=”add_title”>hello</h1>
element.removeAttr(‘attributeName) : 속성 삭제
1
2
3
4
5
6
<script>
    $('h1').removeAttr('title')
</script>
<body>
    <h1 title="add_title">hello</h1>
</body>
- 결과(콘솔 확인): <h1>hello</h1>
Comments powered by Disqus.